Hatching Medaka Eggs
How to Hatch Medaka Eggs
A simple hatch setup, steady temperature, clean water, and consistent light go a long way. This guide walks you through the process from egg to free-swimming fry.
Step 1: Prepare the Container
Use a clean, shallow container (small tub or a low-water-level aquarium works well). Shallow water makes it easier to observe eggs and manage cleanliness.
- Keep the container in a stable spot—no drafts, no rapid temperature swings
- Avoid strong flow; still water is fine for eggs
- Label your hatch container if you run multiple batches
Step 2: Temperature
A reliable incubation range is 75–80°F. Warmer temperatures speed development; cooler temperatures slow it down.
| Water Temp | What to Expect | Notes |
|---|---|---|
| 70–74°F | Slower hatch | Stable is more important than fast |
| 75–80°F | Most consistent | Great balance of speed and stability |
| 81–82°F | Faster hatch | Monitor closely and avoid overheating |
If you use a heater, set it and leave it—constant small tweaks usually cause more problems than they solve.
Step 3: Light Exposure
Eggs and fry do well in bright conditions. Indirect sunlight or a bright aquarium light helps visibility and supports early fry activity once they hatch.
- Indirect sunlight is excellent
- Indoors: place near a bright window or use a steady light cycle
- Outdoors: use partial shade during peak heat
Step 4: Fungus Control
Check eggs daily. Remove any eggs that turn solid white—those are typically non-viable and can encourage fungus spread.
- Remove white eggs promptly
- Keep the container clean (no leftover food, no debris)
- If you choose to use methylene blue, follow label directions and use the smallest effective amount
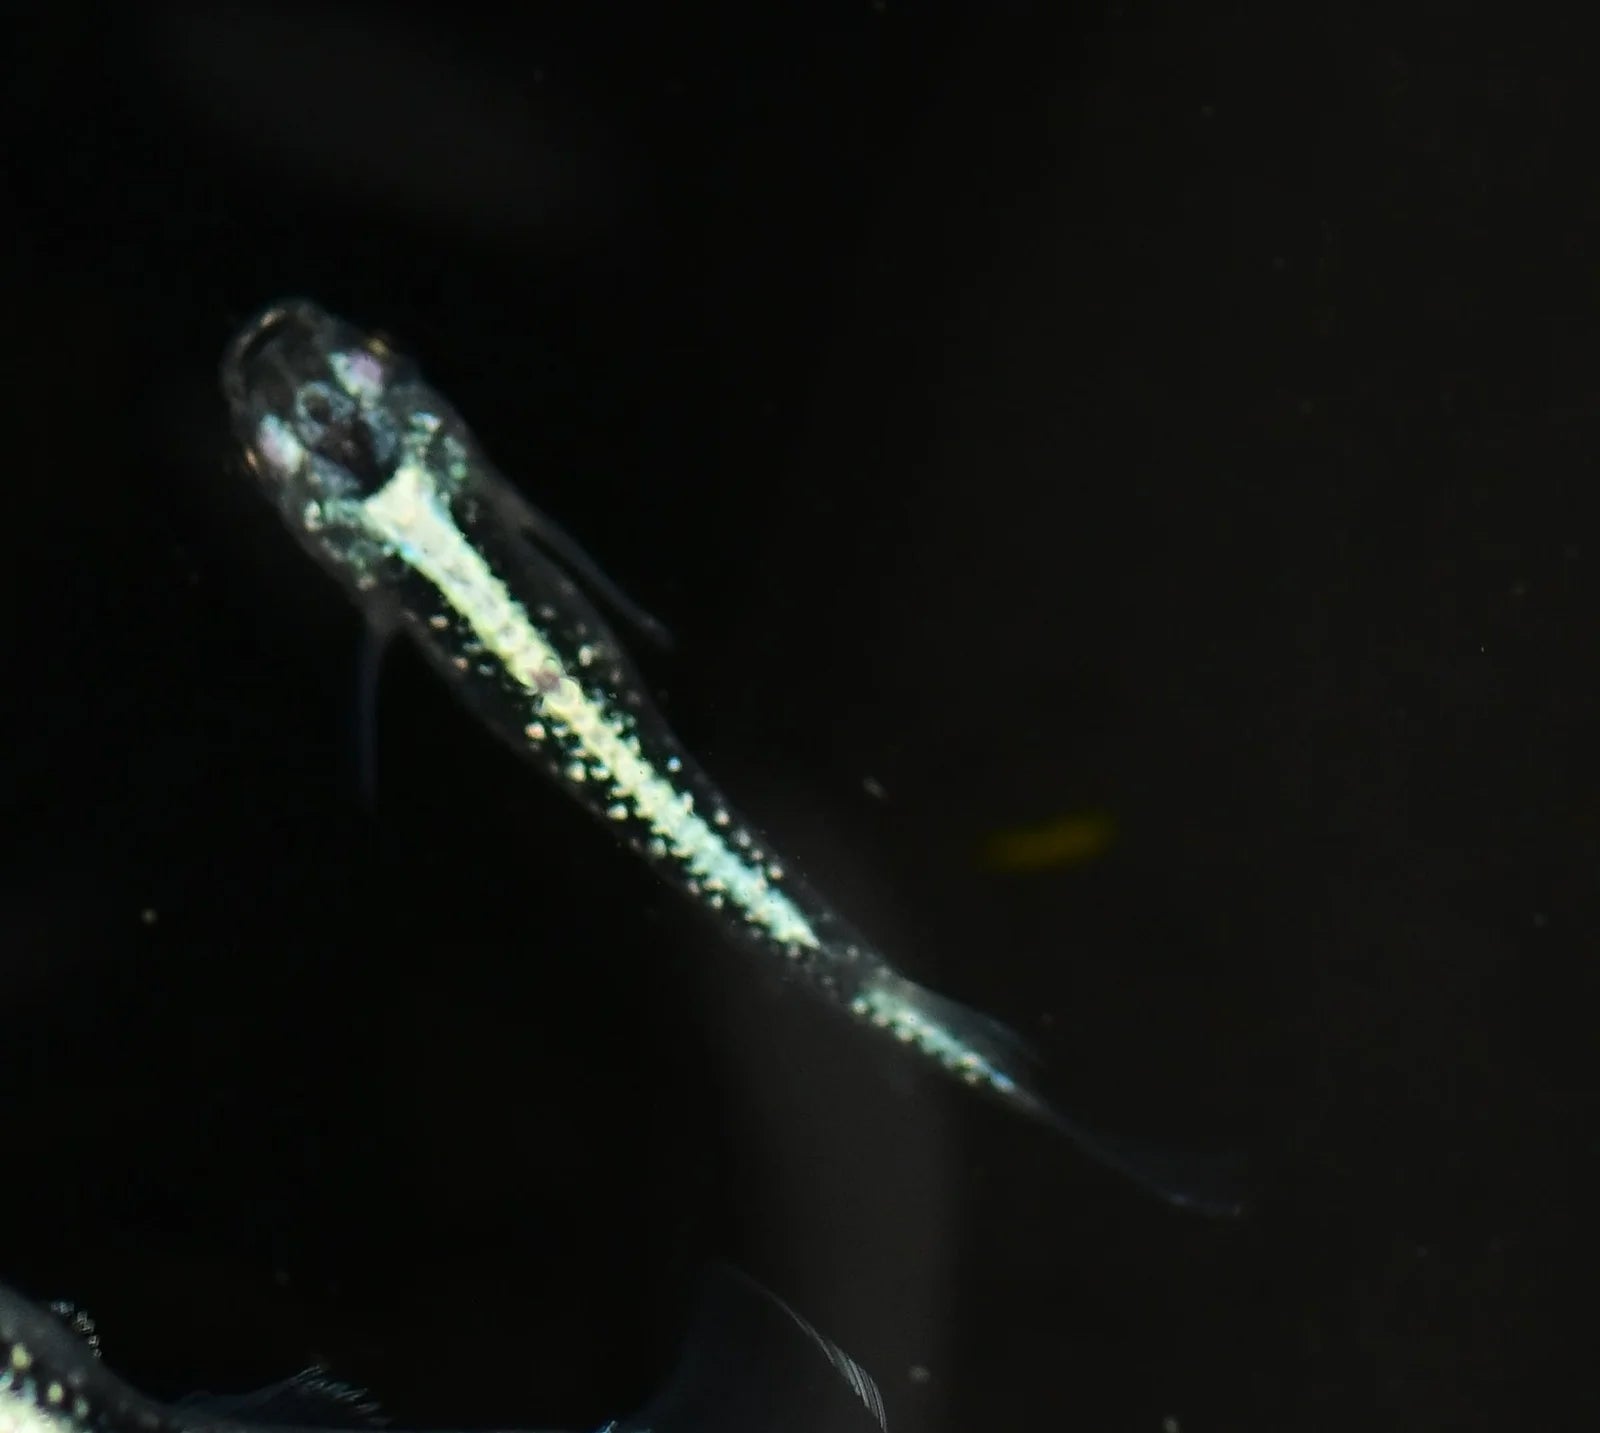
Step 5: Monitor Development
As embryos develop, you’ll start seeing tiny eyes and a curved body inside the egg. At this point, avoid unnecessary handling.
- Healthy eggs gradually become more transparent
- Eyes become visible as dark dots
- Limit movement and keep lighting/temperature consistent
Step 6: Final Hatching Stage
When eggs begin to wiggle slightly, hatching is close. Some fry hatch quickly, others take an extra day.
- Keep surface clean—no film or floating debris
- Avoid strong bubbles or current
- Don’t “help” hatch unless you truly know an egg is overdue and viable
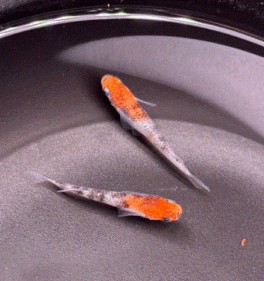
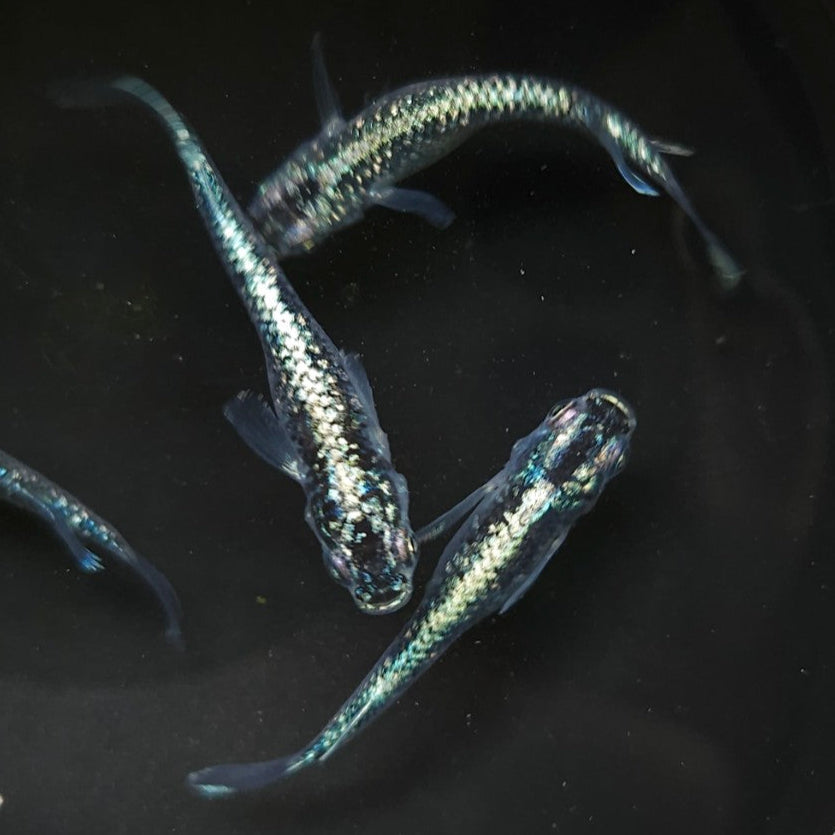
Step 7: Caring for Newly Hatched Fry
Newly hatched fry are tiny and vulnerable. They can live off their yolk sac briefly, then they’ll begin actively searching for food.
| Timing | What to Do | Feeding Notes |
|---|---|---|
| Day 0–2 | Keep water stable, bright, and calm | No heavy feeding; observe activity |
| Day 2–3+ | Begin very small foods (use fry feed) | Tiny portions 1–2x/day; remove leftovers |
| Week 1 | Increase feeding slowly | Small, frequent meals beat one big feeding. DO NOT overfeed. |
Avoid big water changes in the first month. If you must refresh water, do very small, temperature-matched changes and keep it gentle. If you use air, keep it extremely light—strong bubbles can exhaust fry.
Lighting & Stable Conditions
Bright conditions help fry stay active and feeding. Sunlight works well, but overheating is the real risk in small containers.
- Use partial shade outdoors during peak heat
- Light-colored containers run cooler than dark containers under direct sun
- If water feels hot to the touch, it’s time to shade or move the container
Quick FAQ
- Tap water? Dechlorinated water is the safe default. If you experiment with tap water, test cautiously and avoid strong chlorine.
- Best hatch temp? 75–80°F is reliable for most setups.
- When to feed? Start tiny foods once fry are actively hunting (often around day 2–3).
- Aeration? Optional. If used, keep it extremely gentle.
- Big water changes? Avoid early on—stability first.